Washi tape:
For a fun and relaxed way of displaying kids artwork, how about using washi tape? Mark out little rectangles and Blu-tack the artworks within those frames. Choose different coloured tapes to create a really vibrant wall, or choose a couple of similar colours to keep things more low-key.
Wall frames:
Framing lots of your children’s artworks and hanging them together is great for their self-esteem, and also contains the artwork in one area of your home.
If you have the wall space – say up the stairs, or along a landing – consider buying a heap of frames to hang in an eye-catching cascade.
For a more geometric approach, buy lots of exactly the same frame and hang them in a grid. Voila, your very own museum display!

Clipboards:
Hanging a set of clipboards on the wall is such a fun way of displaying your kids artwork.
It’s so easy to slide a new drawing in, it’s a very versatile solution.
Choose vintage style clipboards for more of a designed look, or brighter clipboards if you’re hanging them in your children’s bedrooms.
Bull dog clips:
Hang a bull dog clip from a screw in the wall, and you can simply hang your children’s artwork from the clip.
Easy to change, and discreet!
Plus, you can add more and more clips to the wall as the mood takes you.
Floating shelves:
Using float shelves is an elegant way of showing lots of little drawings and pictures.
You can either stand them loose against the wall, or get some little frames to hold the most prized artworks:

Giant pinboards:
Ok, it’s not exactly a new idea, but an enormous cork board can hardly be overlooked!
What better feeling is there than pushing a pin into a lovely squishy pinboard, staking out a place on it for your latest treasure?
Cork floor tiles come in large sections and can be hung on the wall to create an enormous pin board for your little artist, or side by side in a grid.

Pegboard walls:
I can’t get enough of peg boards at the moment!

Clothes hangers:
A very simple but charming idea is to use a clothes hanger – those ones with clips to hold trousers.
This looks striking just with one hanger, but you could hang a few together on one wall.
Choose coloured hangers for a bright look, or a simple wooden hanger for a more restrained style.
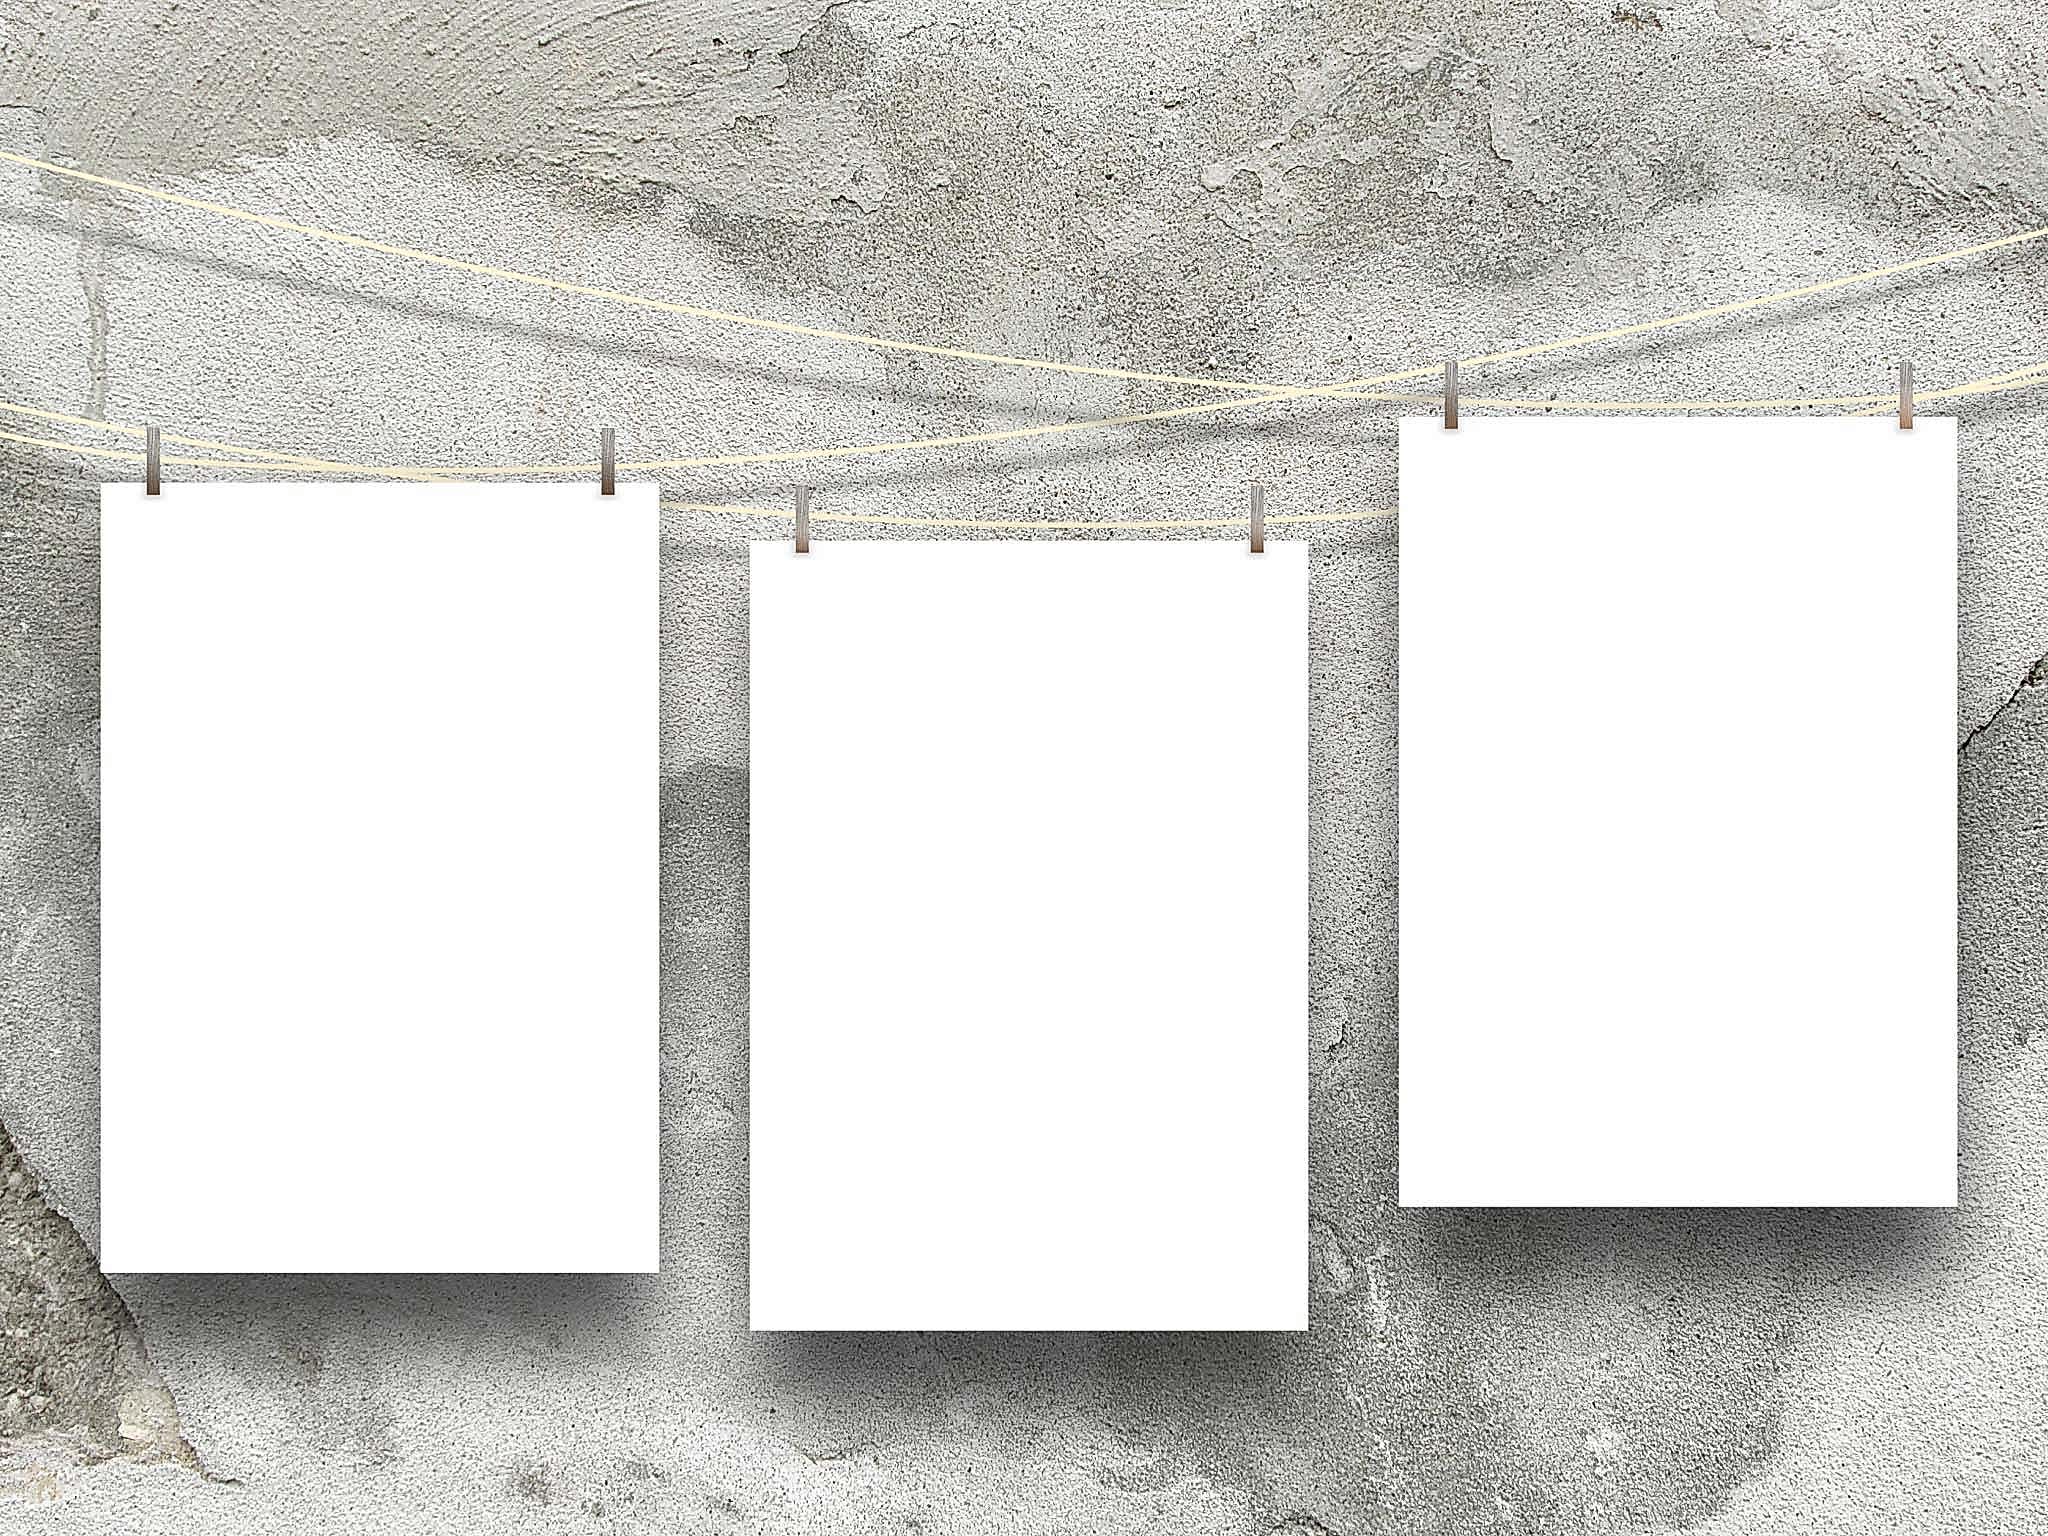
String with clips:
Attaching clips to string is such a fun way of hanging paintings and drawings.
Take it one step further by attaching the string to boards.
They’re easy to enough to make yourself with reclaimed wood (check out your neighbour’s skip for a floor board! Just ask their permission before taking anything) and some pretty pegs.
Clothes pegs also look great.
Photograph or scan artwork to collage and frame:
A great way of reducing the space taken up by storing all this artwork is to photograph it, or scan it.
There are some handy tips on how best to do that here: http://simpleasthatblog.com/2015/05/photographing-childrens-artwork.html
Or, if you’re pressed for time (and really, who isn’t), there are creatives who will collage scans of the digital collages for you to print and frame, such as https://www.etsy.com/uk/listing/214767062
Creating a collage of the digital versions is a fun way of showing all the different colours and materials that your little one has been using, and can be a great way of tying lots of different effects together.
Framing the digital versions takes up hardly any space at all, and if you’re feeling ruthless enough you can bin the original artworks once they’ve been scanned.

Shower curtain kits:
Even the humble Ikea shower curtain ring kit can be re-purposed as a simple gallery. Instead of hanging a shower curtain from the hooks, hang the sculptures and pictures your little ones come home with from nursery or school!
It’s especially well suited to the kitchen where metal can be found around the room anyway – it’d be a bit tough looking for most bedrooms or living rooms.
Paint your own frames:
You could also paint your own frames directly onto the wall – this is in all likelihood one for your children’s bedroom as it might become very, very colourful!
Get your kids involved with this one. What could be more fun than decorating the frames – just remind them that painting on the walls is a special and unusual event!

Picture books:
An alternative to framing a collage is to create a picture book of the artworks – such a lovely thing to keep on your book shelves!
Check out Bob Books for lovely paper and print quality.